Ableton Live Setup and Troubleshooting: Panorama T Series
There are no files to be installed, in order to use the Panorama T series with Ableton Live.
Installation & Setup
The T series controller will emulate a MCU controller, for Mixer and Transport functions. Just make sure that you have updated your controller’s firmware and then follow these steps:
- Plug-in your Panorama T series controller and make sure it’s switched on (if you didn’t do so already).
- Launch Live.
- Go to the ‘Live’ menu in MacOS or the ‘Options’ menu in Windows.
- Select ‘Preferences…’
- Select the ‘Link/MIDI’ page.
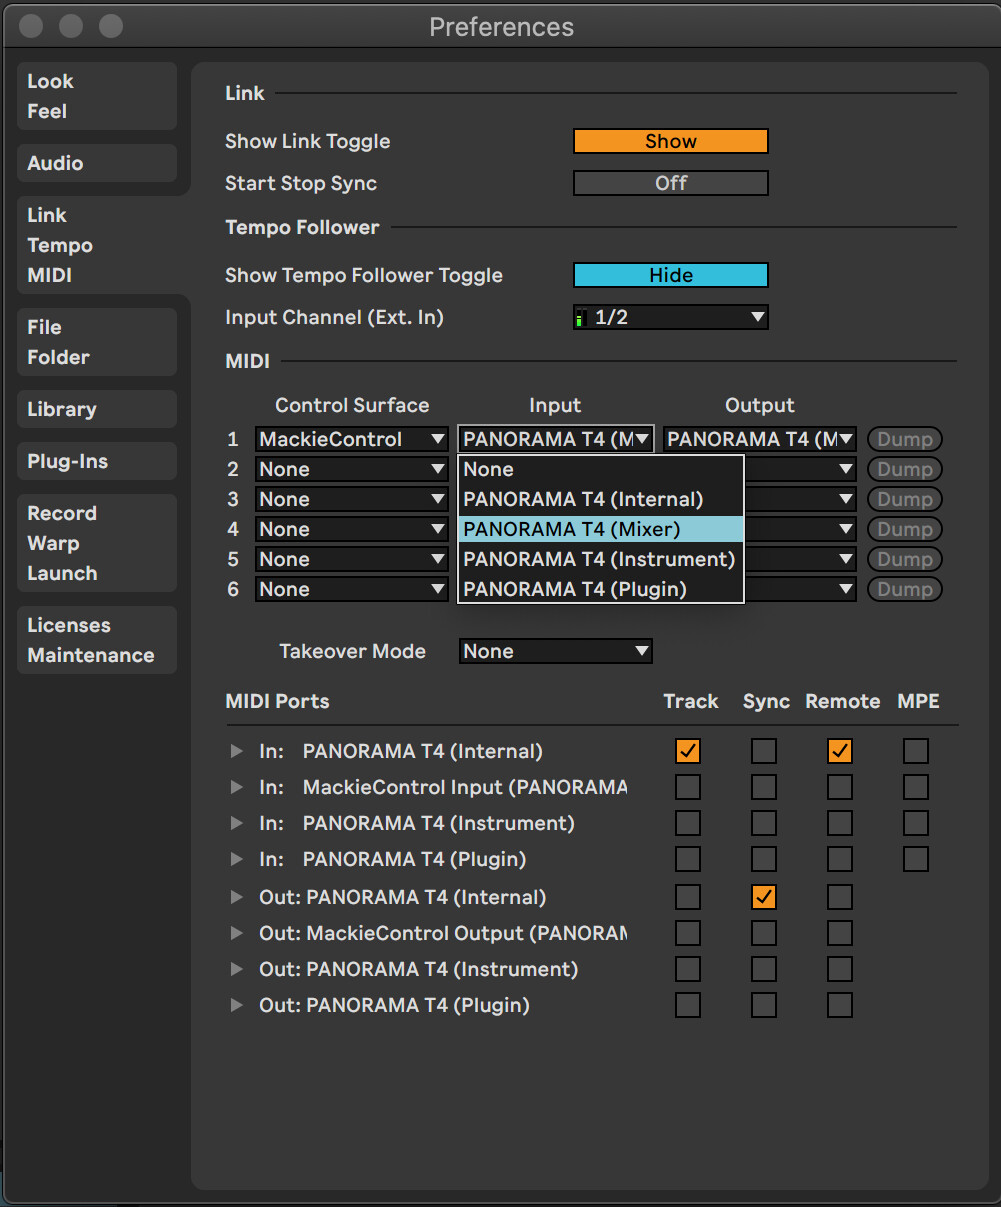
- Select ‘MackieControl’ from the Control Surface list.
- For ‘Input’, select ‘PanoramaT* (Port 2)’ in Windows or ‘PanoramaT* (Mixer)’ in OS X.
- For ‘Output’, select ‘PanoramaT* (Port 2)’ in Windows or ‘PanoramaT* (Mixer)’ in OS X. (Images 1 and 2)
- Close the Preferences window
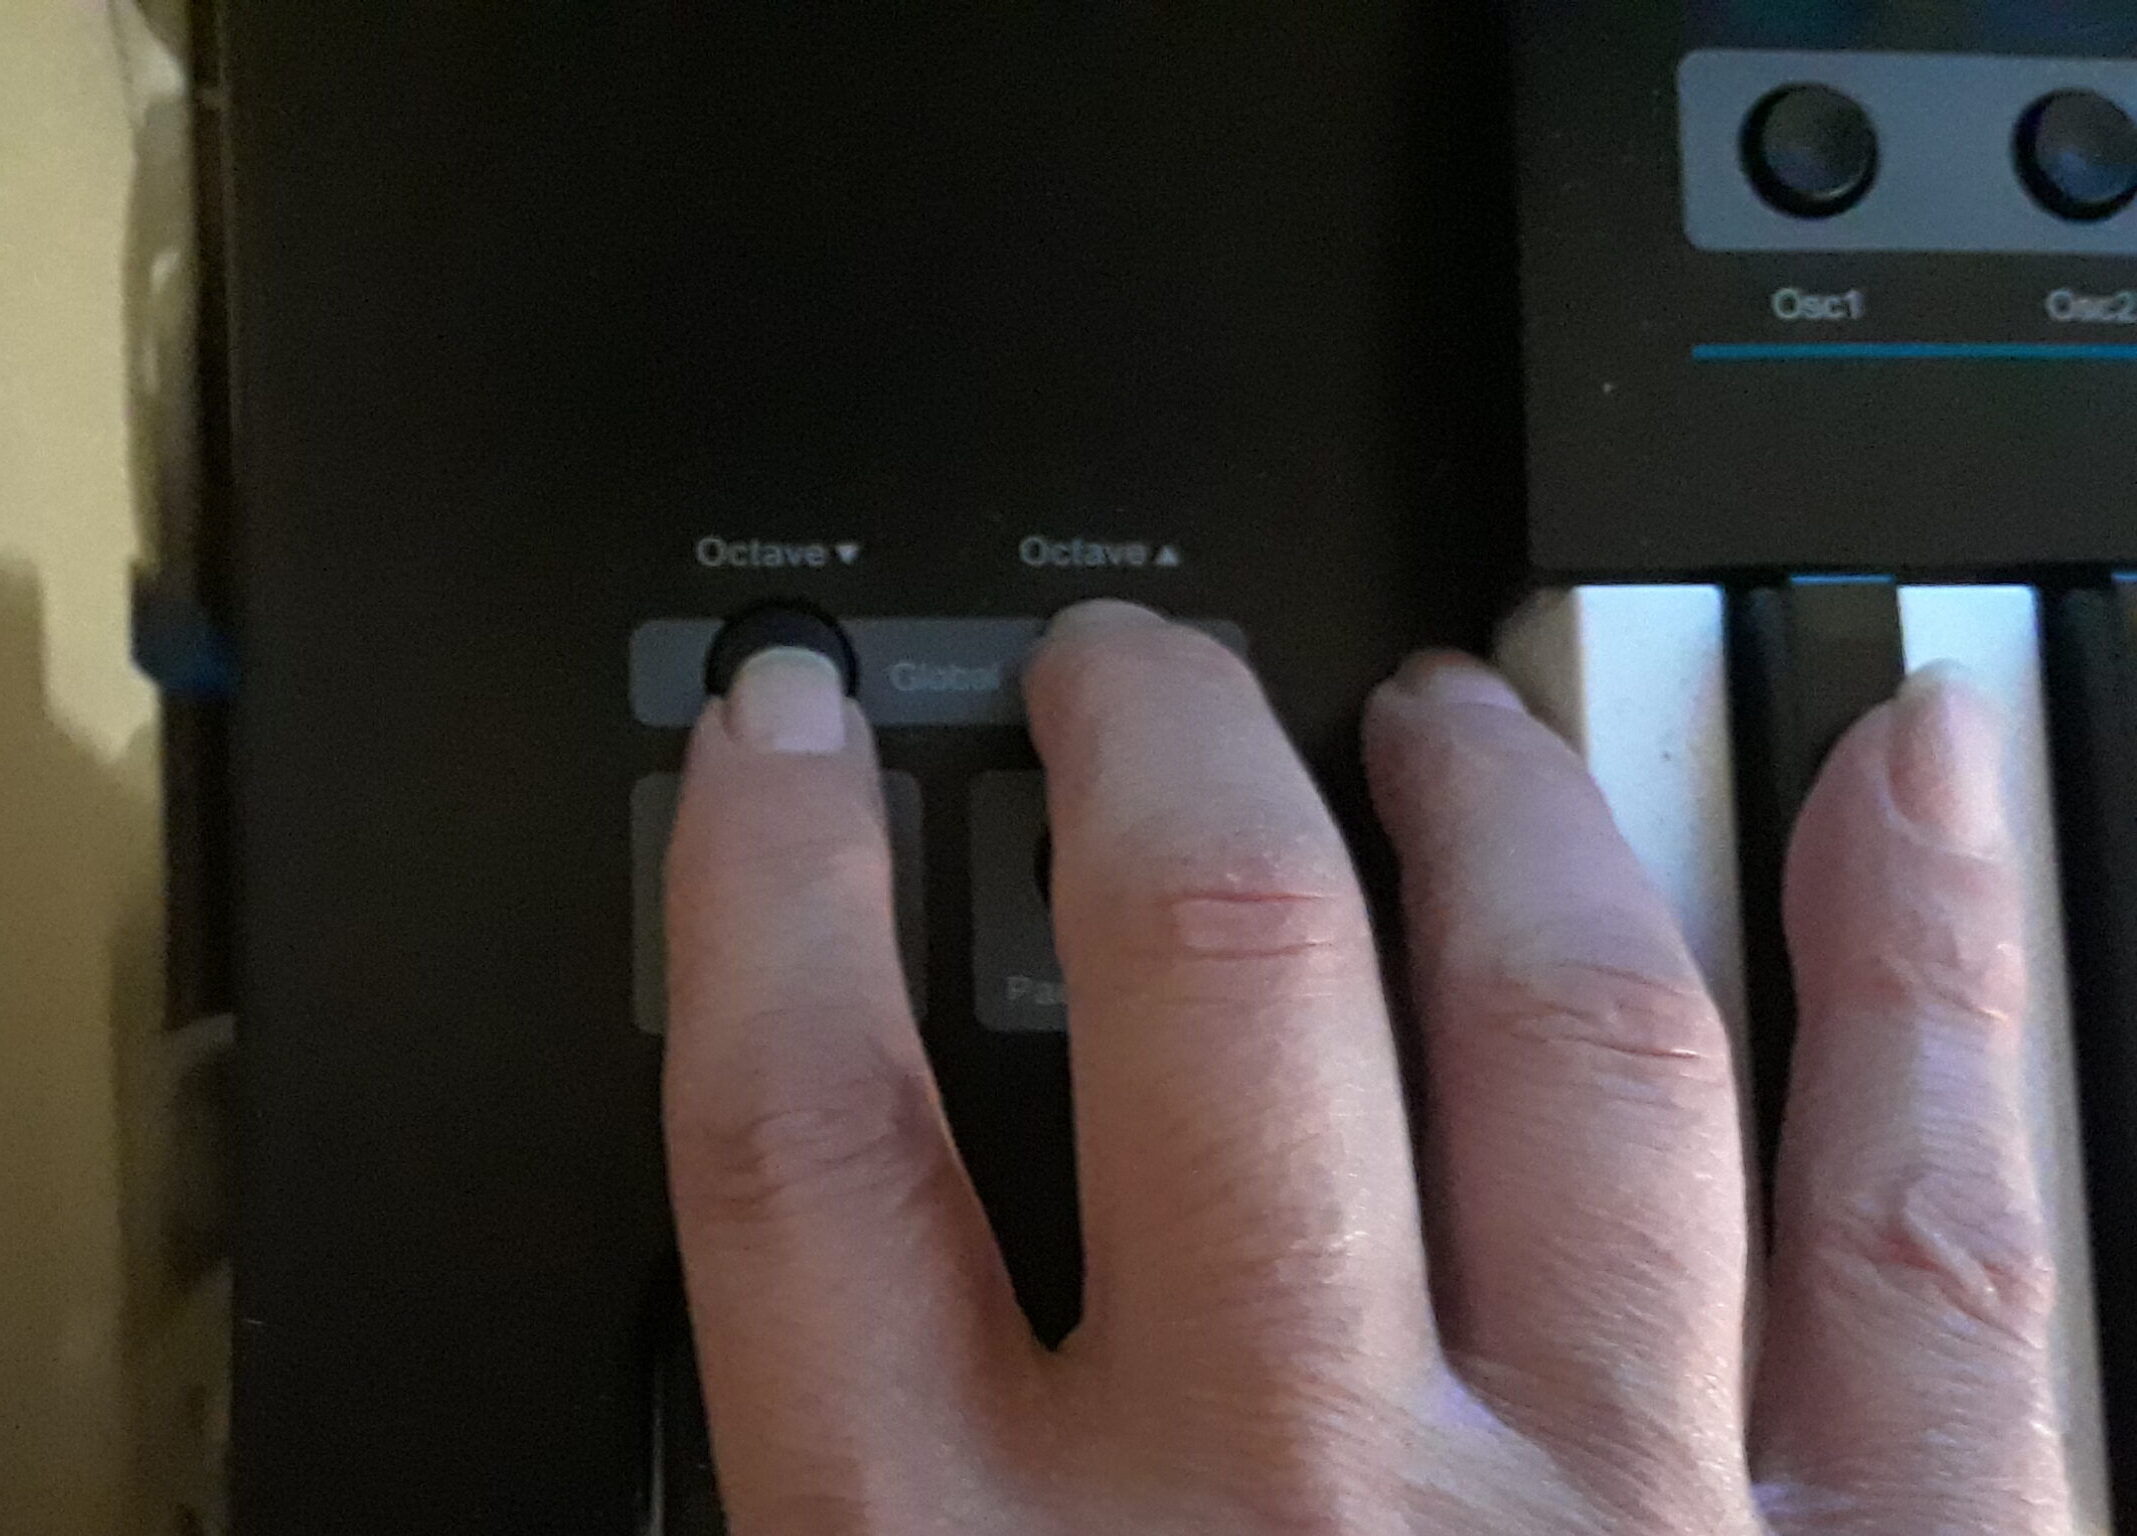
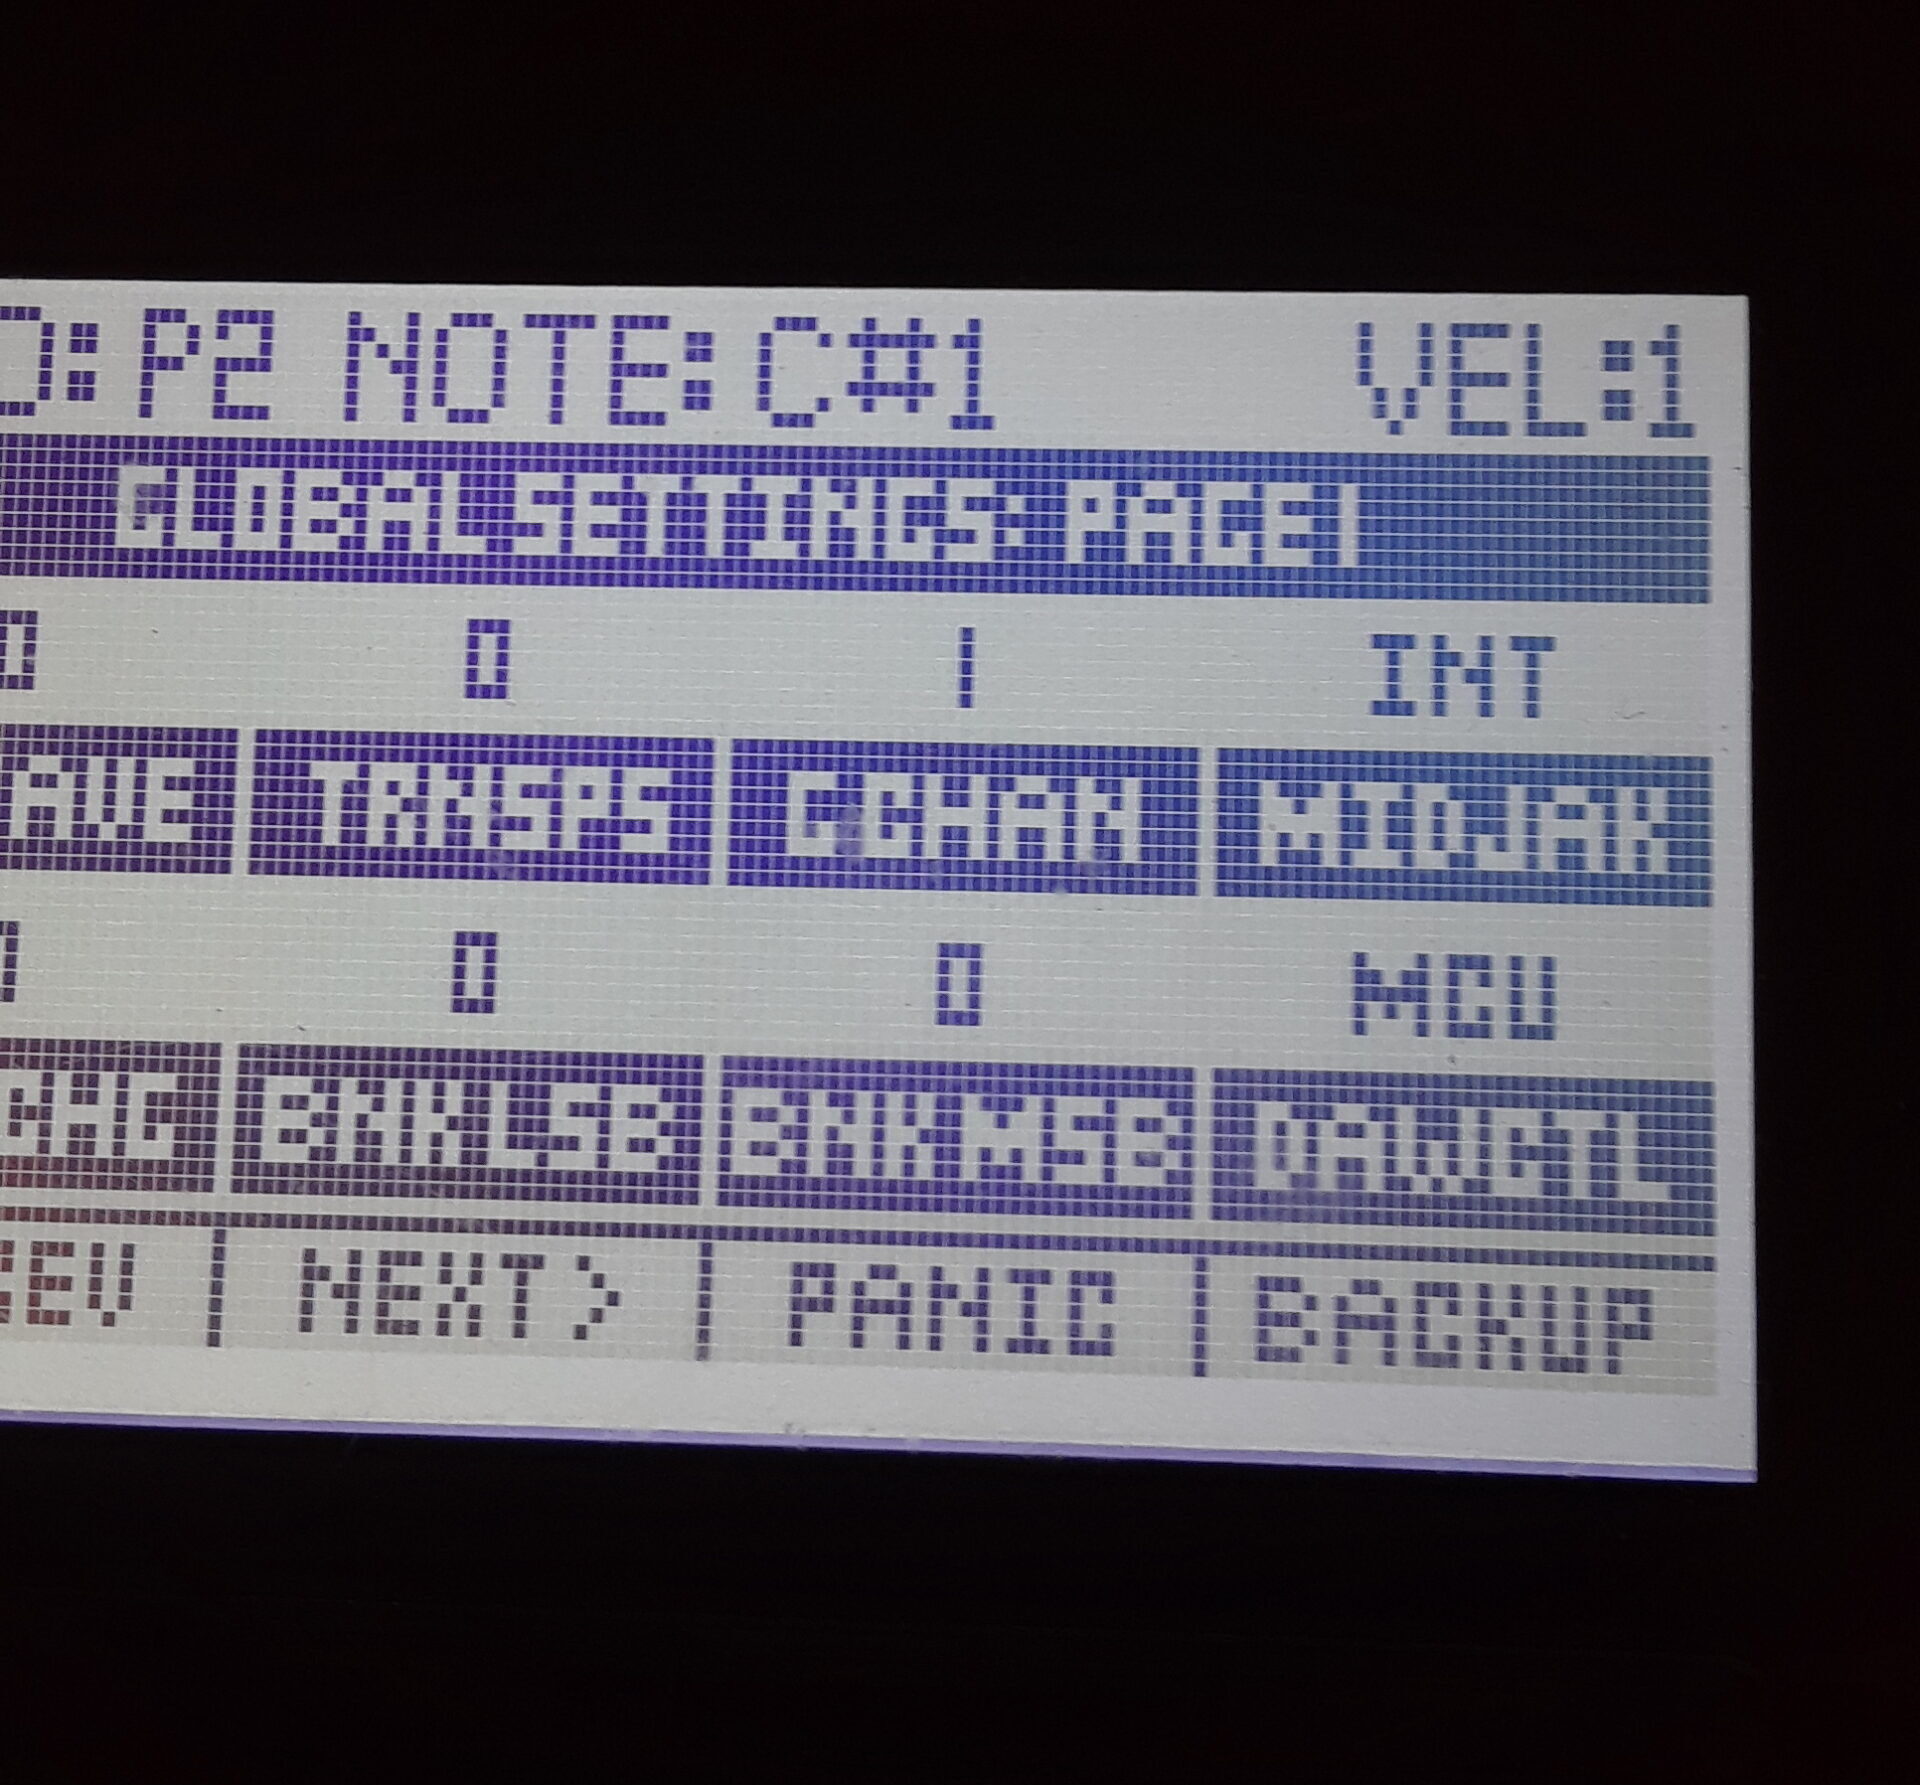
- Press both [Octave] buttons on the T series for the Global menu (Image 3)
- Turn the encoder labeled ‘DAWCTL’ to select ‘MCU’ (Image 4)
- Press the [Mixer] button
- Press the [Play] button on the T series controller.
- Playback should now start in Live.

Panorama T Series – Live – Windows
Panorama T Series – Live – Windows
Panorama T Series – Live – MacOS
Panorama T Series – Live – MacOS
Panorama T Series – press octave buttons
Panorama T Series – press octave buttons
Panorama T Series – DAWCTL MCU
Panorama T Series – DAWCTL MCU
Features
Once configured you will be able to control Mixer channels in banks of 8.
| Control | Function |
|---|---|
| Faders 1-8 | Volume for channels 1-8 in the current bank. |
| Buttons 1-8 | Mute for channels 1-8 in the current bank. |
| Encoders 1-8 | Pan for channels 1-8 in the current bank. |
| Fader 9 | Master Volume |
| [Shift] + [Track -/+] | Move to the previous or next bank of 8 channels. |
| [<<] | Rewind |
| [>>] | Fast forward |
| [Stop] | Stop playback/recording |
| [Play] | Start playback |
| [Record] | Start recording |